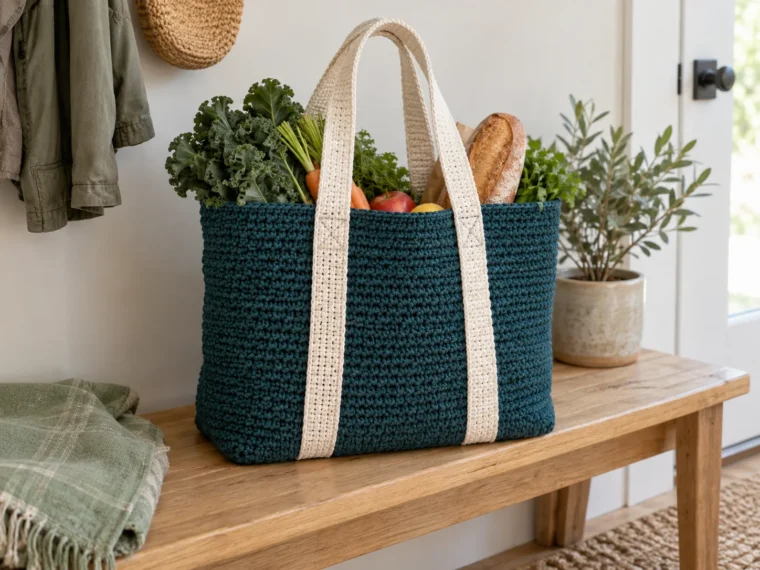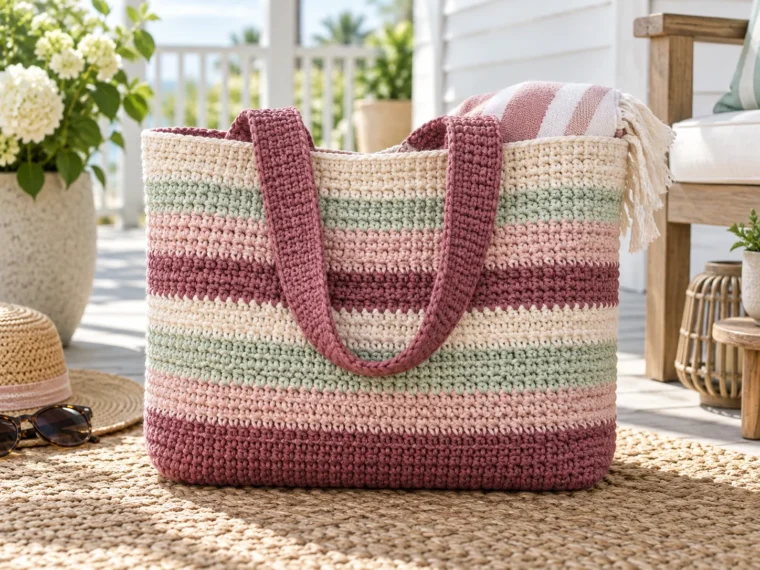
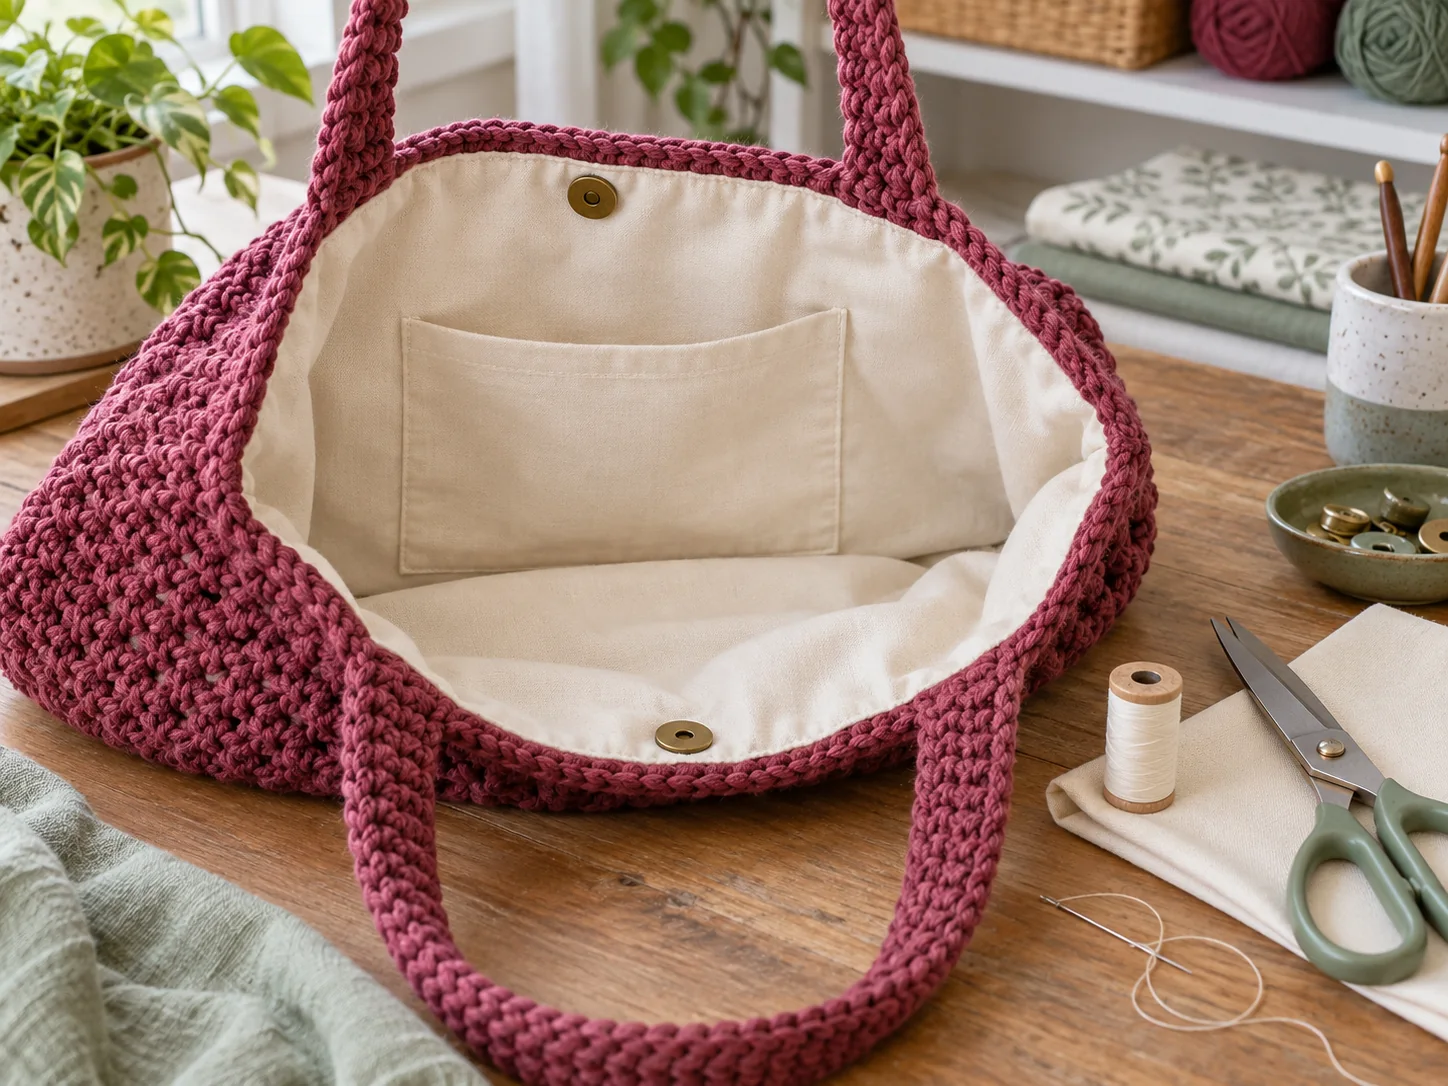
A lining helps a crochet bag keep its shape, stops small objects from working through the stitches and protects yarn from sharp contents. This method uses one folded rectangle and can be sewn by machine or by hand.
What you will need
- Finished crochet bag
- Lightweight or quilting-weight cotton fabric
- Flexible measuring tape or ruler
- Fabric scissors or rotary cutter
- Matching all-purpose thread
- Hand-sewing needle and pins or sewing clips
- Iron and ironing surface
- Optional magnetic snap or inside pocket fabric
Prewash and press the fabric if the finished bag may be washed. Avoid a lining much heavier than the crochet shell, because it can pull on the top edge.
Measure the finished bag
Lay the empty bag flat without stretching it.
- Measure the width from side seam to side seam.
- Measure the height from the bottom fold to just below the top edge.
- If the bag has a gusset, measure its depth.
For a flat two-panel bag, the lining width equals the bag width plus 1 in / 2.5 cm for two seam allowances. The cut length equals twice the bag height plus 1 in / 2.5 cm for the top hems.
Example: For a bag 15 in wide and 12 in tall, cut fabric 16 in wide × 25 in long.
For a deep tote, add the gusset depth to the cut width. The lower corners will be boxed after the side seams are sewn.
Cut and prepare the fabric
Square the fabric before cutting. Mark the measurements on the wrong side and cut one rectangle. Fold it in half with right sides together so the fold becomes the lining bottom.
At the open top, press each raw edge ½ in / 1.25 cm toward the wrong side. Press it under another ½ in / 1.25 cm for a clean hem, but do not sew the hem yet.
Add an optional pocket
Cut a pocket rectangle about 7 × 8 in / 18 × 20 cm. Press all edges ½ in / 1.25 cm to the wrong side, then fold the top edge under once more and stitch it.
Center the pocket on the right side of one lining panel, at least 2 in / 5 cm below the future top edge. Stitch the sides and bottom, leaving the top open. Backstitch at both upper corners. Add one vertical seam for two smaller sections if desired.
Sew the lining sides
With right sides together and the bottom still folded, stitch each side using a ½ in / 1.25 cm seam allowance. Backstitch at the beginning and end. Press the seams open.
For a flat bag, continue to the fitting step. For a bag with depth, box the corners:
- At one lower corner, align the side seam with the bottom fold to form a triangle.
- Measure across the triangle until the line equals the bag depth.
- Mark and stitch across that line.
- Repeat at the second corner and confirm both boxed sections match.
- Trim the excess triangle, leaving a ½ in / 1.25 cm allowance.
Fit the lining before attaching it
Keep the lining wrong side out and place it inside the crochet bag. The wrong side of the fabric faces the wrong side of the crochet, hiding all seams between the layers.
Smooth the bottom and corners. The lining should sit inside without forcing the crochet outward. If it is loose, deepen both side seams equally. If it is tight, reduce the seam allowance before trimming anything.
Adjust the pressed top hem so it sits ¼–½ in / 6–12 mm below the crochet edge. Clip the lining in place every 2 in / 5 cm.
Hand-sew the lining to the bag
Thread a needle with about 24 in / 60 cm of thread and knot the end. Bring the needle up through the folded lining edge so the knot is hidden inside the fold.
Use small whipstitches or ladder stitches. Catch only the back portion of a crochet stitch so the thread does not show on the outside. Then pass through the folded fabric edge. Keep stitches about ¼ in / 6 mm apart and avoid pulling the thread tight enough to gather either layer.
At handle attachments, take several additional stitches through the lining fold and dense crochet border. Do not sew through a removable drawstring or moving hardware.
Add a magnetic snap safely
Install a snap before the lining is attached. Reinforce each half with a square of felt or interfacing on the wrong side of the fabric. Position the pieces accurately at the center front and back, then confirm they meet before sewing the lining into the bag.
Final checks
- The lining lies flat at the bottom.
- Side seams sit near the crochet side seams.
- The lining does not show above the top edge.
- Hand stitches are not visible from the outside.
- Pockets and snaps are reinforced.
- The bag can be opened fully without the lining pulling.
Washing a lined crochet bag
Follow the care instructions for both yarn and fabric, choosing the gentler method. Wash with the bag empty and the closure open. Reshape while damp and dry flat. If the fabric shrinks more than the crochet shell, gently loosen the attachment stitches and refit the lining.