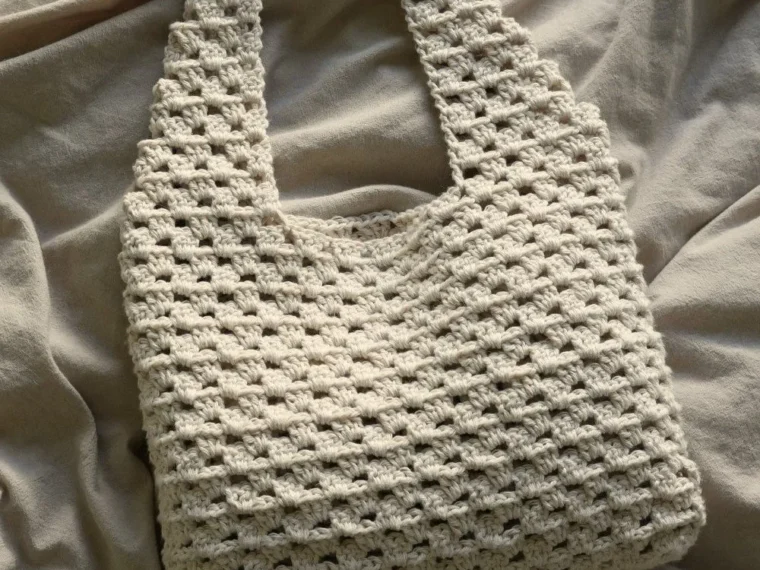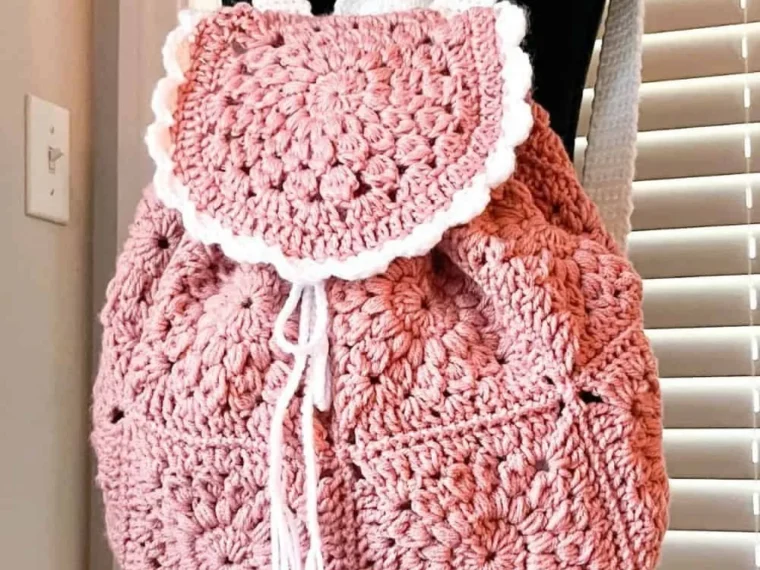
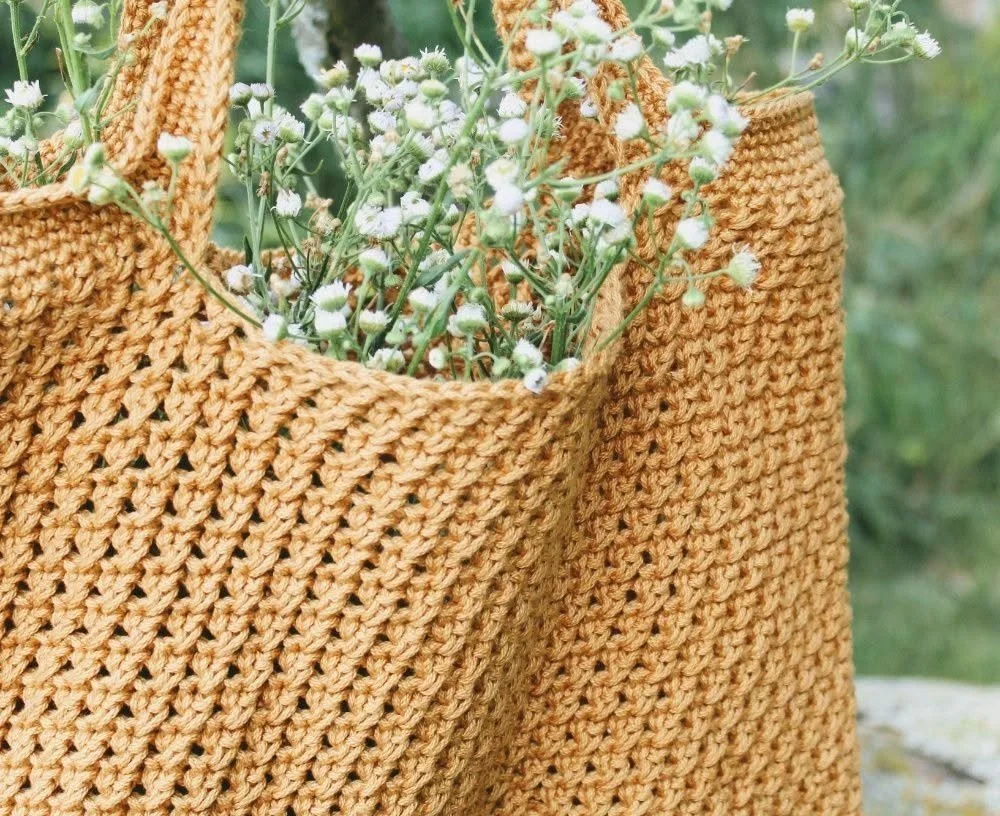
Easy Crochet Market Bag Pattern
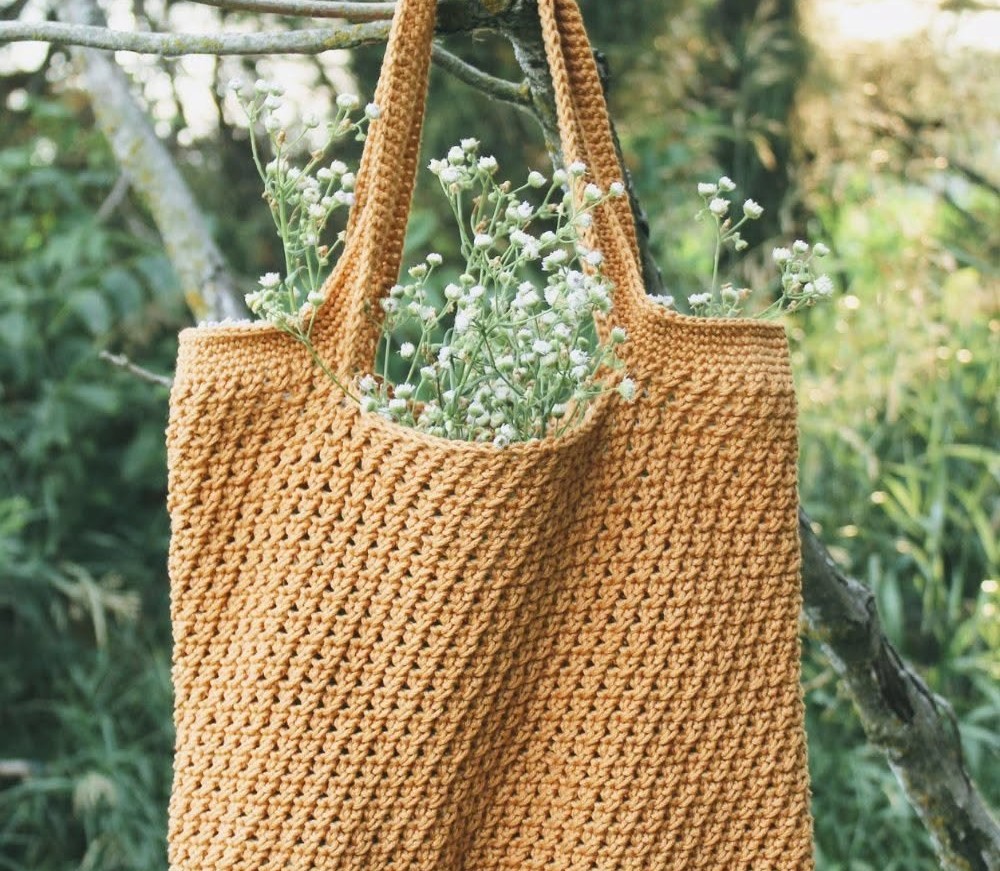
This Easy Crochet Market Bag is a stylish and functional accessory that is perfect for carrying groceries, beach gear, or any everyday essentials. With its sturdy yet flexible design, this bag is made using simple crochet techniques, making it ideal for beginners. The finished project will stand out in any yarn color, showcasing your creativity while being practical for a variety of uses.
Skill Level
Beginner
Materials
- Yarn: Cotton or acrylic yarn (approximately 200-300 yards, depending on desired size)
- Crochet Hook: Size H/8 (5 mm) or as needed to meet gauge
- Scissors
- Yarn Needle
Crochet Abbreviations
- ch: chain
- sc: single crochet
- dc: double crochet
- sl st: slip stitch
- inc: increase (2 stitches in one stitch)
- rnd: round
Before You Start
- Construction: This bag is worked in the round, starting from the base and moving upwards.
- Gauge/Tension: It’s recommended to check your gauge. A tight fabric will provide more support, while a loose fabric may result in a softer bag.
- Stitch Multiples: Not applicable for this pattern.
- Working Direction: You will be crocheting in continuous rounds.
Instructions
Foundation / Starting Chain
- Begin by making a slip knot.
- Ch 4. Join to form a ring with a sl st in the first ch.
Round 1
- Ch 2 (counts as your first dc), work 11 dc into the ring.
(You should have 12 dc total, including the initial ch 2) - Join with a sl st to the top of the ch 2.
Round 2
- Ch 2. Inc in the next dc, repeat from * to * around.
(You should have 24 dc total) - Join with a sl st to the top of the ch 2.
Round 3
- Ch 2. Dc in the next dc, inc in the next dc, repeat from * to * around.
(You should have 36 dc total) - Join with a sl st to the top of the ch 2.
Main Body
- Ch 2. Dc in each dc around.
(Continue with this repeating round until the bag reaches your desired height, usually around 10-12 inches.) - Join with a sl st to the top of the ch 2 at the end of each round.
Straps / Handles
- When you reach your desired height, ch 30 (or adjust for desired length).
- Join the strap to the side of the bag with a sl st, then repeat on the opposite side to create the second strap.
- Fasten off and weave in any loose ends.
Assembly
No additional assembly is required as the bag is completed as a single piece.
Finishing
- To finish, cut the yarn and pull it through the final loop.
- Use a yarn needle to weave in any remaining loose ends.
Helpful Tips
- When starting the foundation ring, use a larger hook if you’re struggling to work into the stitches later.
- If your bag is not holding its shape, consider using a heavier yarn for more structure.
- Keep your tension consistent to ensure an even finish.
Variations
- Color Choices: Use multiple colors for the body and straps to create a striped effect.
- Size Adjustments: Add or remove rounds from the body or increase/decrease chains for longer or shorter straps to customize the bag’s size.
- Edging: Add a decorative border with slip stitches at the top of the bag for a polished finish.
Enjoy your crochet project and happy crafting!