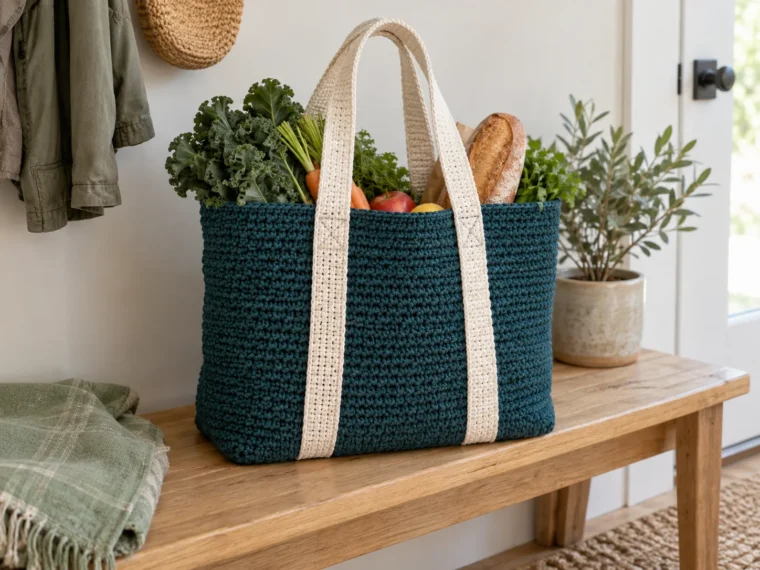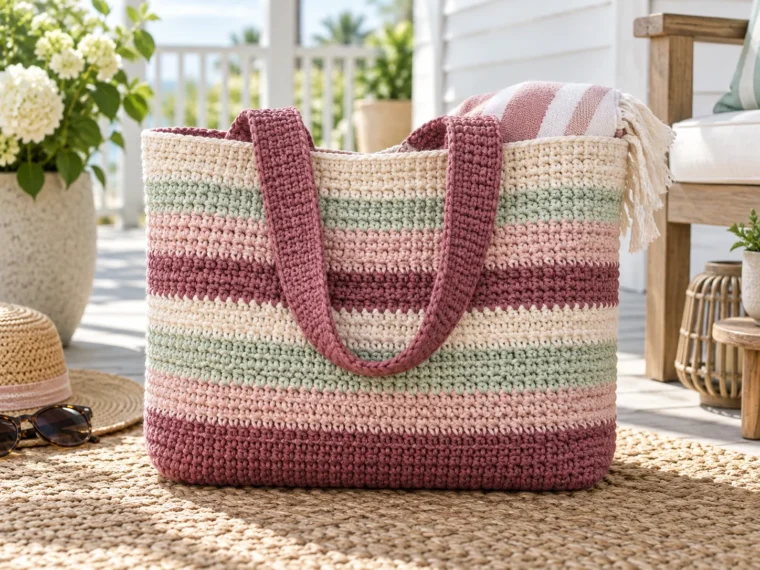
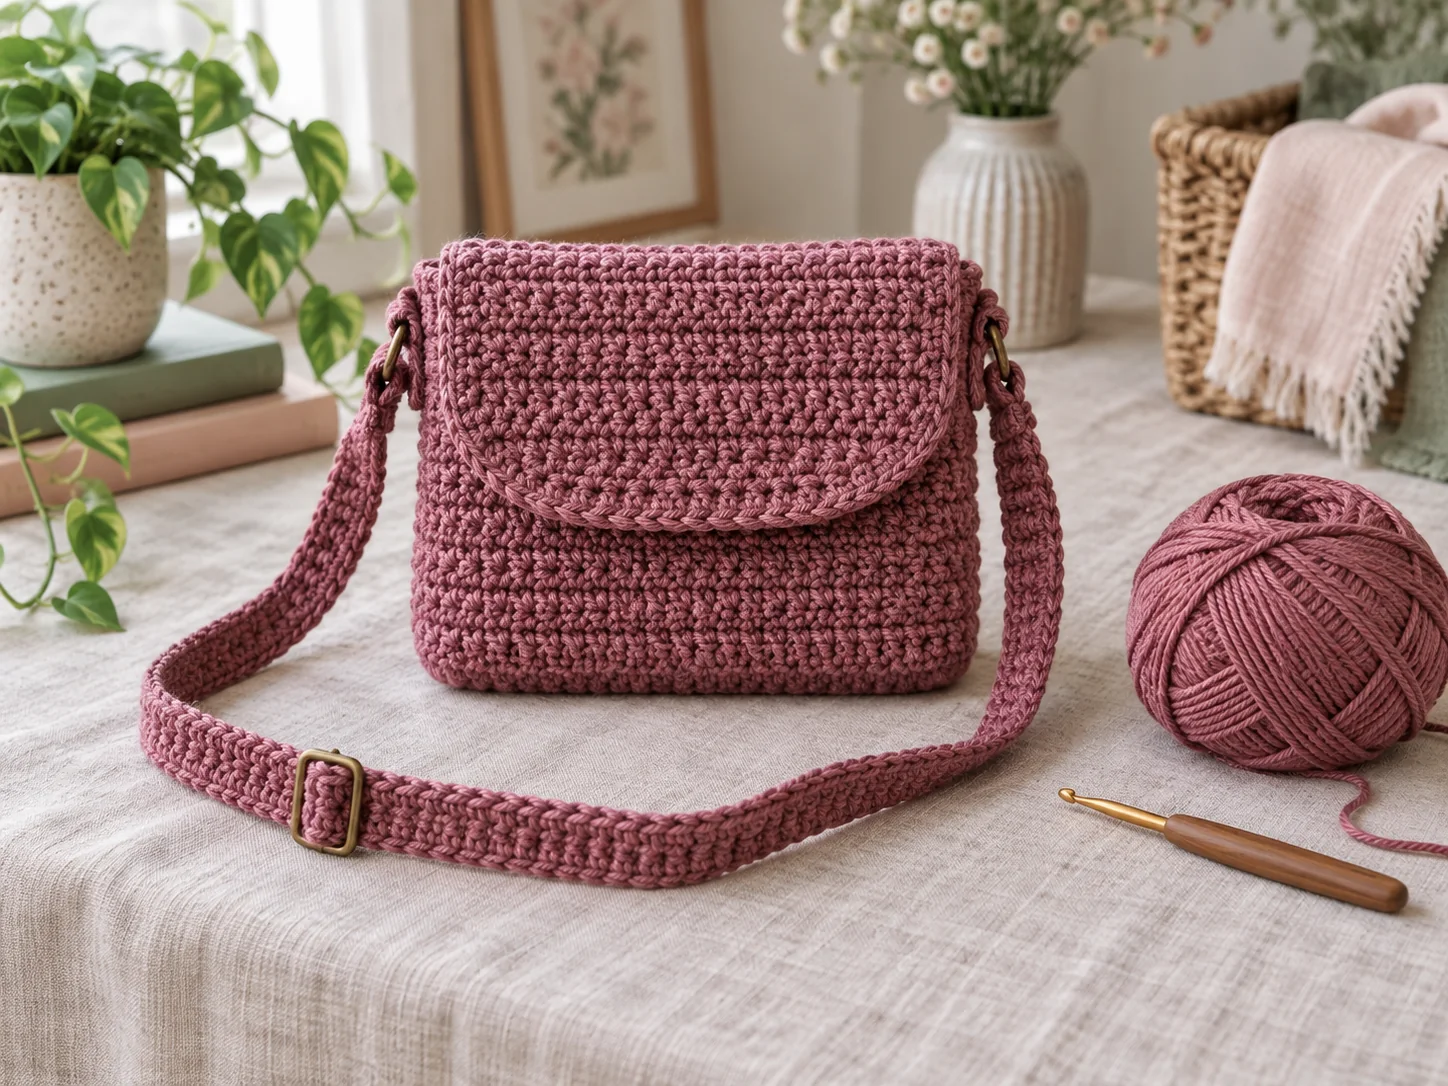
This small crossbody uses one continuous back-and-flap panel, one short front panel and a narrow strap. It holds a phone, keys and a small wallet while giving a beginner useful practice with straight edges, seaming and button placement.
Pattern overview
- Skill level: Beginner
- Finished size: 7.5 in / 19 cm wide × 6 in / 15 cm tall
- Strap: Up to 48 in / 122 cm before attachment
- Construction: Two flat pieces with a fold-over flap
- Terminology: US crochet terms
Materials
- 180–200 yd / 165–183 m worsted-weight cotton or cotton blend
- 4.5 mm crochet hook
- One ¾ in / 19 mm button or magnetic sew-in snap
- Two small strap rings or D-rings, optional
- Yarn needle, scissors and stitch markers
Gauge
16 single crochet stitches and 18 rows measure 4 in / 10 cm. Check gauge if the bag must fit a particular phone.
Abbreviations
- ch: chain
- sc: single crochet
- sc2tog: single crochet two stitches together
- sl st: slip stitch
- st(s): stitch(es)
Notes before you begin
- Ch 1 at the start of a row does not count as a stitch.
- Work the last stitch into the final sc, not into the turning chain.
- Test the button through the flap loop before sewing it permanently.
Free mini bag pattern
Back and flap
Ch 31.
Row 1: Sc in the second ch from the hook and in each ch across. Turn. 30 sts.
Rows 2–28: Ch 1, sc across. Turn. 30 sts.
The first 28 rows form the back. Continue for the flap.
Rows 29–34: Ch 1, sc across. Turn. 30 sts.
Row 35: Ch 1, sc2tog, sc across to the final 2 sts, sc2tog. Turn. 28 sts.
Rows 36–39: Repeat Row 35. 20 sts after Row 39.
Row 40: Ch 1, sc in 8 sts, ch 4, skip 4 sts, sc in the final 8 sts. Turn.
Row 41: Ch 1, sc in each sc and work 4 sc into the ch-4 space. 20 sts. Fasten off.
Front panel
Ch 31.
Row 1: Sc in the second ch and across. Turn. 30 sts.
Rows 2–28: Ch 1, sc across. Turn. 30 sts. Fasten off with a long sewing tail.
Seam the bag
Align the front panel with the lower 28 rows of the back panel. The shaped flap remains above the front. With wrong sides together, whipstitch down one side, across the foundation edges and up the other side. Turn right side out.
Join yarn at a side seam and sc evenly around the bag opening and flap edge. Place 2 sc in each outer flap corner and sc evenly around the button loop. Join and fasten off.
Make the strap
Ch 181, or chain until the strap is about 4 in / 10 cm longer than your preferred finished length.
Row 1: Sl st loosely in the back bump of each chain. Fasten off with long tails at both ends. The slip-stitch row reduces stretch while keeping the strap narrow.
Thread each end through a ring and sew it back onto itself, or sew the strap directly to the side seams with a rectangle-and-X pattern. For an adjustable strap, pass it through a purchased slider before attaching the second end.
Add the closure
Fold the flap down without stretching it. Mark where the loop meets the front panel. Sew the button at that point through multiple stitches, adding a small backing button inside if the yarn is soft. If using a magnetic snap, stitch both halves to small felt or fabric backing circles before attaching them.
Finishing
Weave in the ends and lightly block the bag to square the corners. Place a folded towel inside while drying so the flap takes its finished shape.
Customize your mini bag
Add a lining for small objects, shorten the strap for a shoulder bag, or omit the strap to make a pouch. To change the width, add or remove foundation chains and keep both panels identical. To change the height, adjust the first 28 rows on both pieces before making the flap.
Pattern check
- Front and lower back sections each have 28 rows.
- The flap decreases evenly to 20 stitches.
- The button loop fits without pulling.
- Strap attachment is reinforced at both side seams.
Common questions
What if I run short of yarn?
Make a shorter wrist strap or use a contrast color for the edging and strap. Do not reduce the seam allowance or attachment stitches.
Can I make the flap square?
Yes. Work Rows 29–39 without decreases, then place the button loop in the center of the final row.